Have your laptop speakers suddenly stopped working or do your smartphone speakers sound better than your computer? Do you have a desktop with no speakers? Well here’s how you can easily stream audio from your computer wirelessly to your Android smartphone. Using this tweak, you can easily enjoy the convenience of wireless audio on your wired headphones using a smartphone and without spending a penny. Wireless headphones are costly and often do not sound as good as their wired counterparts. Moreover, it’s a pain in the ass to charge wireless headphones daily. So, to enjoy wireless audio on my wired headphones (at least from a desktop/laptop) here’s the setup that I use.
Using this setup, I stream audio from my laptop to my Android smartphone. Why do I just not connect my headphones to my laptop? Of course, my laptop has an earphone jack (if you were wondering that it doesn’t), but my couch is a bit far from the table I work on, and my headphone cords aren’t long enough. So to enjoy occasional movies and stuff, I tend to lay down on my couch with my laptop on the table (I don’t like it on my couch) and enjoy whatever I am watching.
What do You Need?
- A desktop/laptop computer (of course)
- An Android smartphone
- 5 minutes of your time
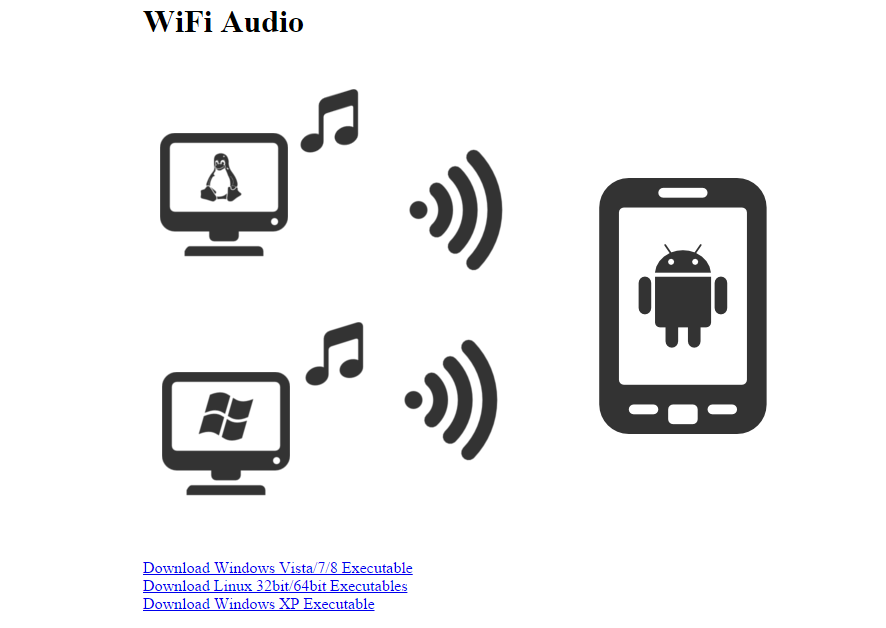
Stream PC Sound to Android Smartphone with WiFi Audio
In the first method, we will use the WiFi Audio application for Android. It’s available for free on the Google Play Store. There’s a paid version as well with ads. However, I don’t recommend buying it, because there’s no need. Once you’ve turned on WiFi Audio, you only have to go inside the app to turn it off. No settings, nothing.
Update: Sadly the developer deleted the free version from the Play Store, and there’s just the paid version available. The paid version costs $2 and can be downloaded here. Upon searching online, I could find an APK of the earlier free version. You can download it from APKsFull – apksfull.com/wifi-audio-wireless-speaker-com-vnd-wifiaudio/
Set up WiFi Audio on your Android device:
1. Download WiFi Audio to your smartphone and install it.
2. Open the app.

3. Close any ads that appear. Hit the back button to do so.

4. Notice an option titled “WiFi Audio Status” which is set to Off? Turn it on.

5. You will see a notification in your notifications panel which says ‘WiFi Audio Started with an IP address’. If you don’t, check if you are connected to a WiFi network.
Setup WiFi Audio on your computer:
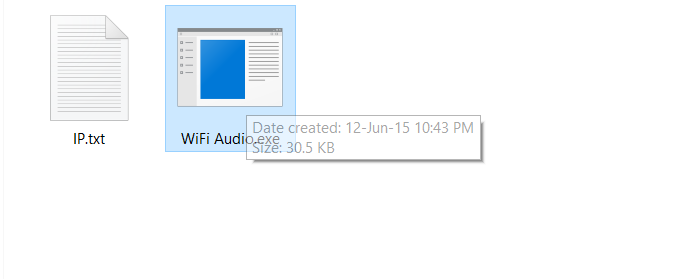
1. Visit this link to download the appropriate client for your device. Currently, there are clients available for 32 bit and 64 bit Linux, Windows XP, Windows 7 and Windows 8. Upon testing, the client also worked on Windows 10.
2. Upon downloading, simply run the application. It’s a standalone application so you do not need to install it on your computer. Just open the application whenever you want to run it.
3. Upon opening the application, type the IP address that you see on the Android application (remember we saw an IP address in the notifications panel? Yes, that!)
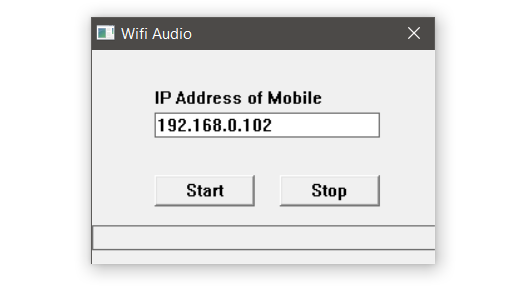
4. And then click on ‘Start’ button to start streaming audio. That’s it.

As can be read, the tool will start sending audio data to the IP address that you specified.
You can alternatively follow the below video tutorial:
(coming soon)
Some Helpful Tips:
- This is the simplest setup I could find. Both the applications don’t have anything to set up making them easy to use.
- If you have weak signal, audio might stutter. So make sure you are close to your router and avoid moving.
- Avoid downloading stuff when WiFi audio is on if you experience voice breaks or lags.
- There’s no way to change the sound quality. You have to adjust with the app defaults. I find it to be decent enough.
- To experience better audio quality, avoid streaming audio to your smartphone’s speakers. Instead, connect headphones to your smartphone and listen tover them.
Stream Audio Using SoundWire
SoundWire is another application you can use to route your PC audio to your Android device. It works on the same mechanism as WiFi Audio, the app we discussed earlier. Like WiFi Audio, SoundWire has two applications – one of which needs to be installed on your computer and the other on your Android. Here’s how to do it.
On your Windows/Linux computer:
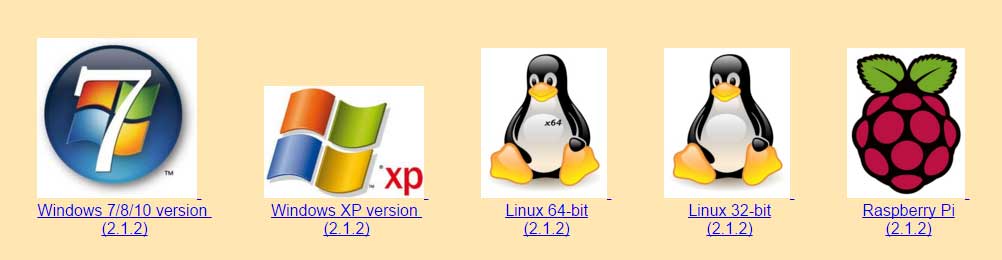
1. Download the SoundWire server application from their official website. There’s a different version available for Windows XP, Linux and a common one for Windows 7, Windows 8 & Windows 10. In addition to that, there’s an application compatible with Raspberry Pi as well (if you feel like setting up a full-featured audio station).
2. After installing it onto your PC, before opening SoundWire turn on your audio source (like playing a movie on VLC or playing some songs).
3. Double click the SoundWire icon on the desktop to open it.
![]()
4. It will start streaming audio to the IP address you can see on the application. In my case, it is 192.168.2.1.

5. From the option titled ‘Input Select’, choose your audio source. You have the following options – Speaker (what you listen on your computer speakers) or Microphone (what you speak on your microphone). You can also choose the default option for using the default multimedia device.
Unlike WiFi Audio, SoundWire does offer some options using which you can change the audio source to a microphone or your speakers, you can reduce the master volume, you can record audio to file and save it. It also provides an option to minimize SoundWire to your system tray or task bar. You can also mute your sound entirely. SoundWire is an upgrade over WiFi Audio.
On Android:
1. Open the Google Play Store -> Search for ‘SoundWire‘ -> Install it.
2. Upon successful installation, launch the application.
3. Click on the ‘SoundWire’ icon to connect to a SoundWire Server automatically. If you run multiple SoundWire servers on your WiFi network, you can alternatively type the IP address in the provided field and then tap the SoundWire icon.
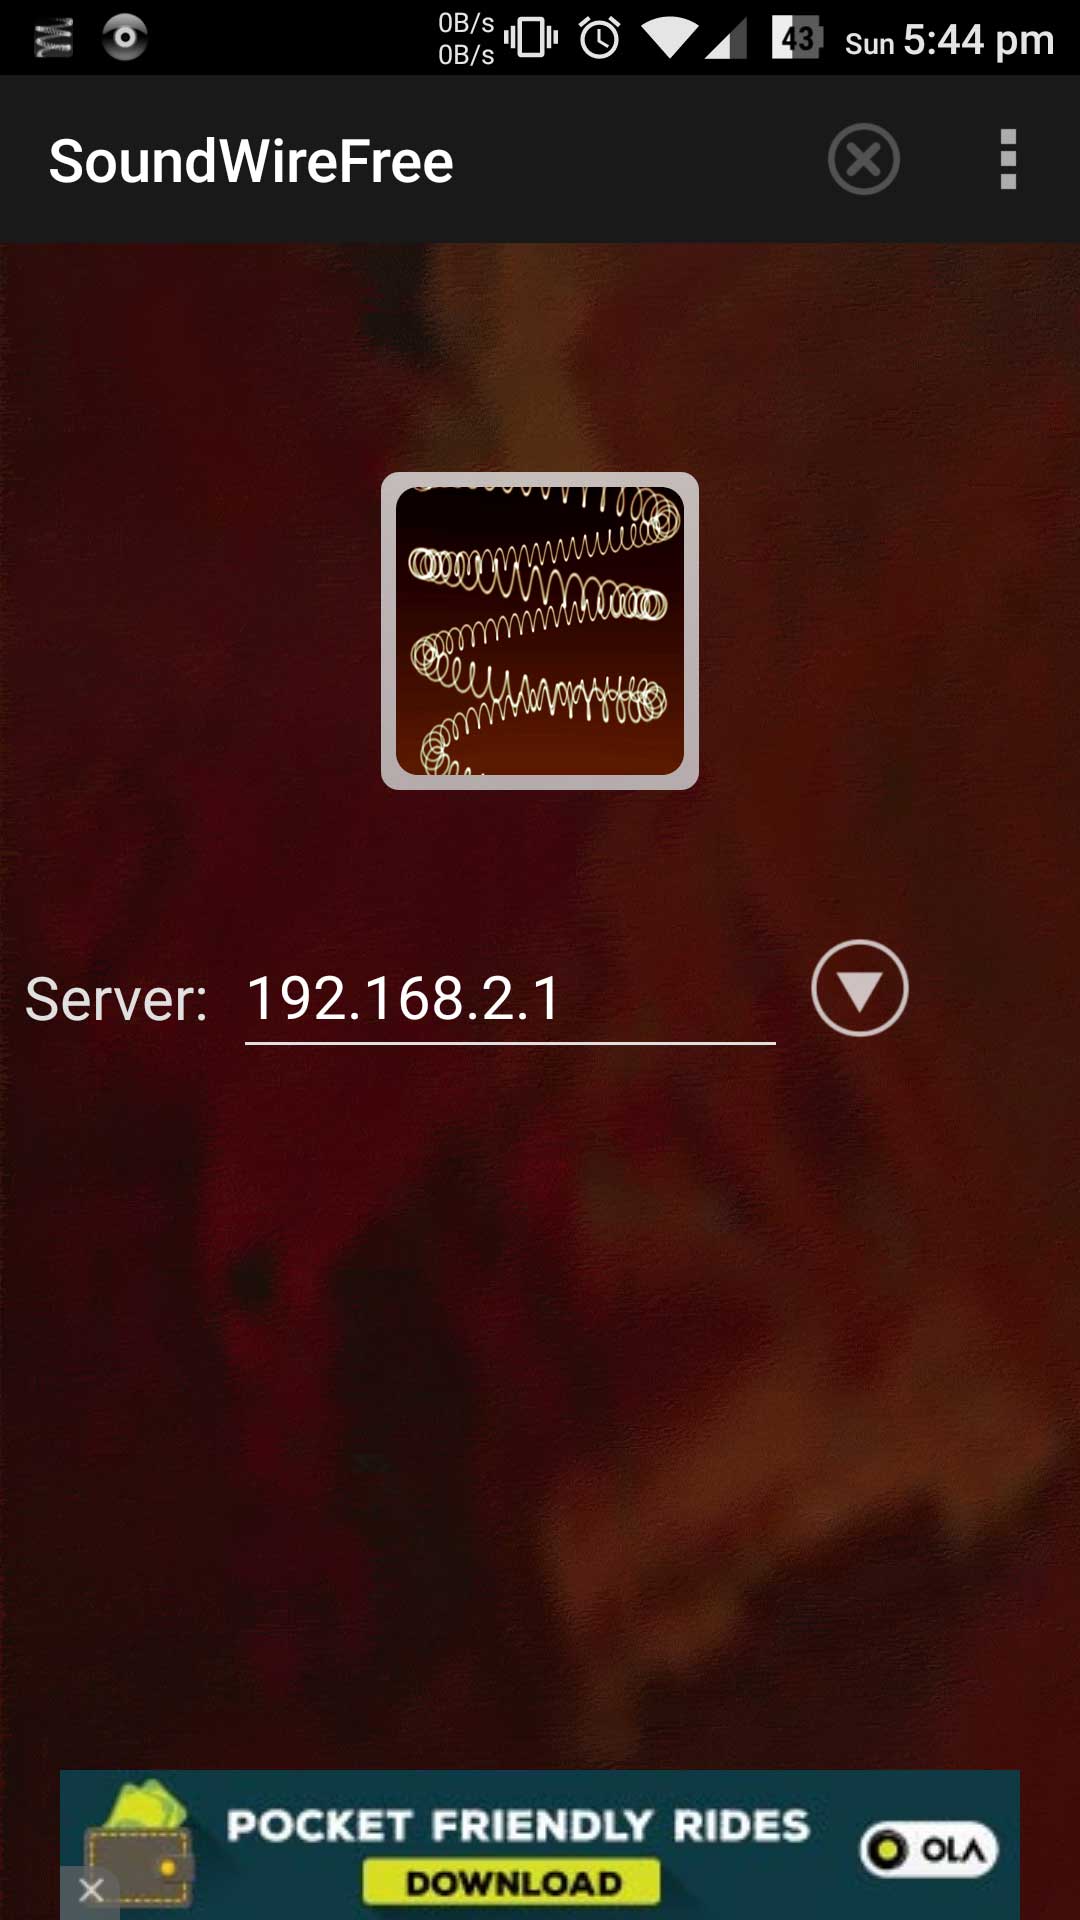
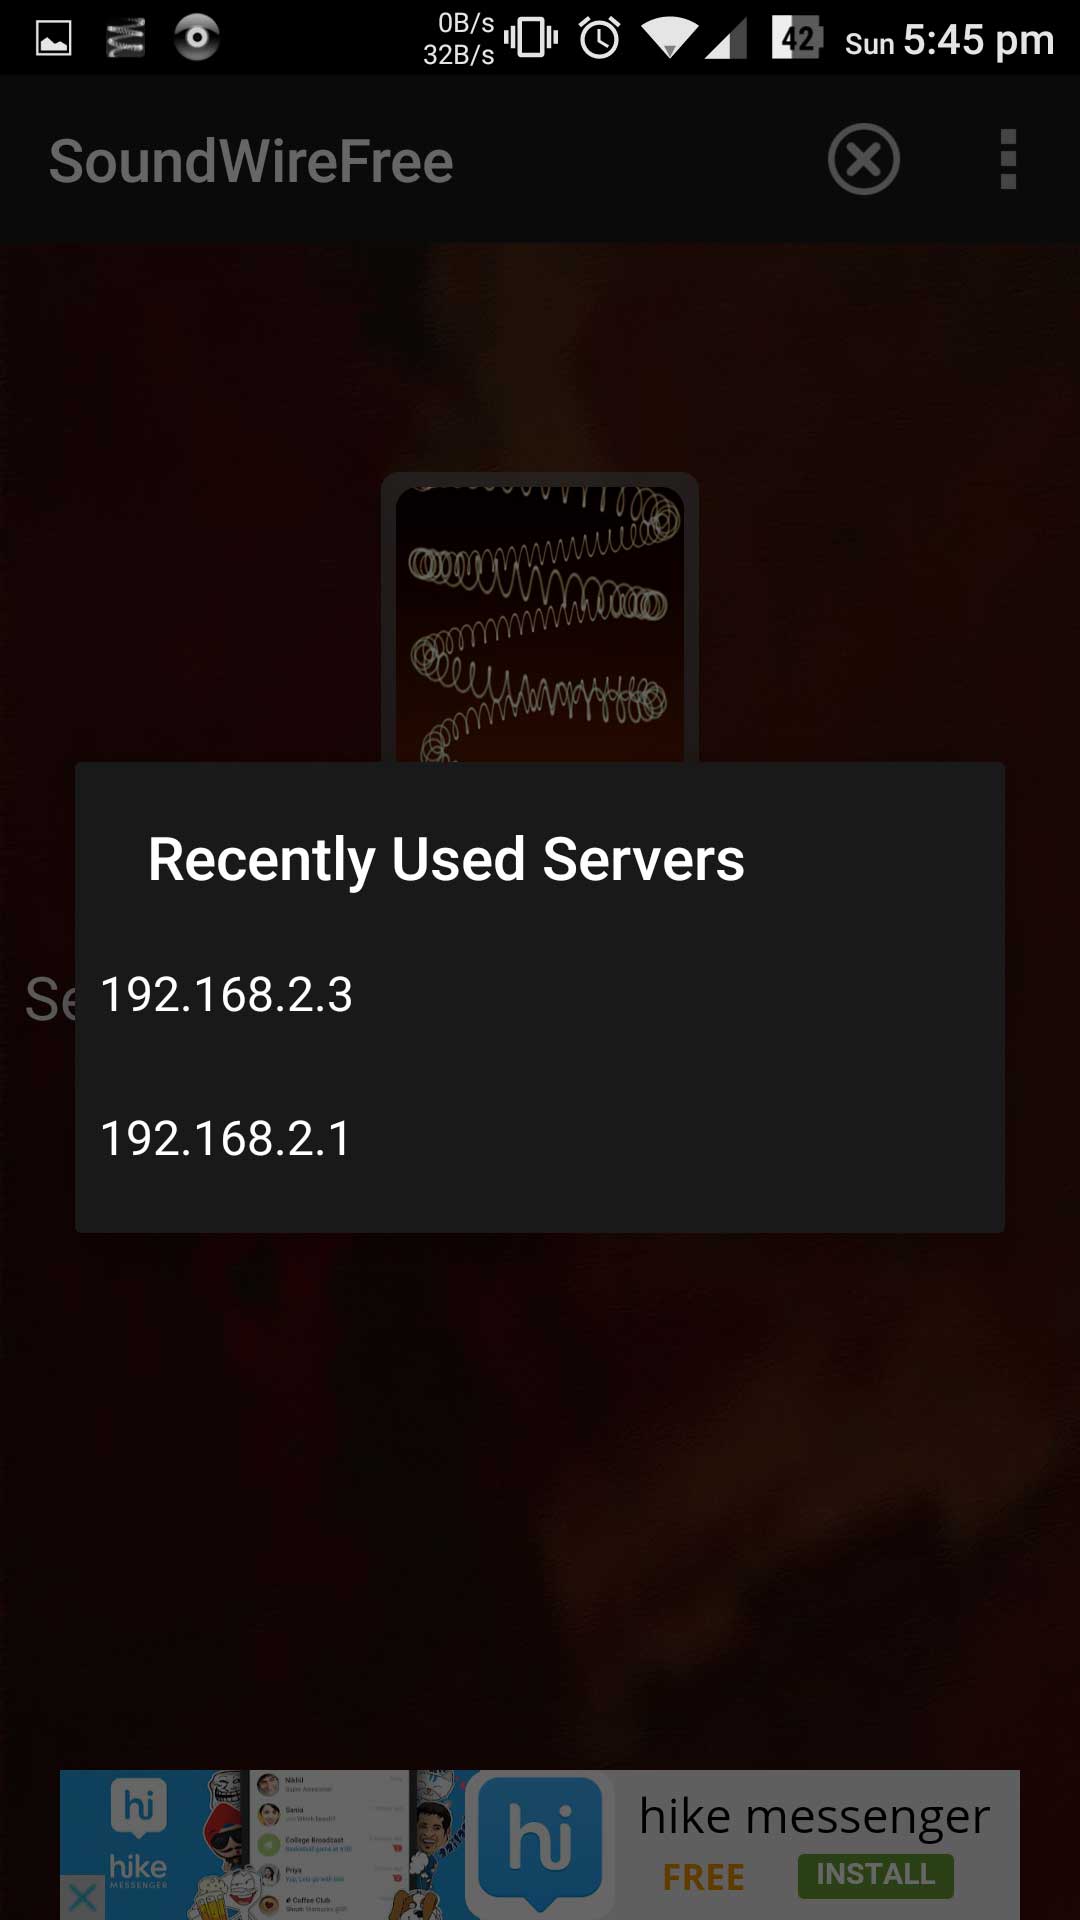
Each server that you connect to is saved. So, the next time you launch the app, you can simply pick a server by clicking on the downward pointing icon.
SoundWire Android app offers some configuration options. For instance, you can change the name that’s shown on the SoundWire server-side app when connected to it or you could change the audio buffer size (to increase or reduce the sound quality). If on your Android smartphone breaks, you can enable audio compression.
Further, SoundWire also provides options to:
- Connect on start
- Auto-reconnect to the server if connectivity is lost for some reason
- Auto-reconnect when settings are changed
- Ability to connect to a hostname instead of an IP address (just in case you have a domain name server set up on your network; most of us don’t)
- Disable notification sounds if connection is lost
- Change the Android primary audio path
- Prevent device from sleeping if SoundWire is in use
- Dim screen to prevent your device from sleeping when SoundWire is running. Its is recommended that you enable this option only if you experience choppy audio
- You can also use a custom server port number if you wish to. But, make sure that you change your server port on your computer too. The port number on the SoundWire Android app and SoundWire Server should match to successfully establish a connection between them
SoundWire also offers a paid version without advertisements which retails for $3.99 and can be bought here.
Any tips on using SoundWire? The same tips that I shared for WiFi Audio also apply to SoundWire so I won’t repeat them again.
Which one of them do I recommend?
Well, I believe in the KISS principle which means keeping everything simple and thus prefer to use WiFi Audio, which comes with just two start buttons and it pretty much does its job. You can try both of them and find which one do you like more. If you’re of a special kind and would like to configure the application to your taste, you’d prefer using SoundWire more than WiFi Audio.
Are these the only applications that facilitate wireless streaming of audio? Definitely not. But, these are the two tools that I found to be working. Out of the various tools that I tried these worked and were also rated fairly by the community. That’s the only reason I’ve mentioned them. If you know any other tools that work, do let us know and we’ll happily include them here.
Can you Give me this app for pc bu mail site is down!!!Pls…
Can you put download link here?
When you select audio quality on or above 64k, sound lag starts. I cab tackle it by VLC but what about Online Streaming?